Post Production: Spring Quarter 1/4
- Mar 23
- 4 min read
Updated: Apr 15
Details work from class one to class five(checkpoint class) of the Spring Quarter at SCAD. Blog posts arranged from newest to oldest.
Project Drive:
Project Shot List: https://docs.google.com/spreadsheets/d/1Y1-DKGdcjgM3FcTvOirFuHcpqTPOWDmjmlm5wzcjg6w/edit?usp=sharing
Other Group Member Blogs:
Hannah Kim | |
Benji Hopkins | |
Olivia Wesling | |
Sydney Relkin | |
Charlie Ragland | |
Mia Esparragoza |
Spring Quarter 1/4 Cut:
To Do:
Rerender shot 1A with feedback
Rerender shot 1B to match hand perfectly
Render out 2C with new effect
Fairy wings renders
Flower effect for last shot with butterfly
Shot 2E and 2G Progress
Final 2E and 2G After Comp:
The animator was able to fully finish the rabbit animation this quarter! I was able to take this animation into the scene and place it with correct scale
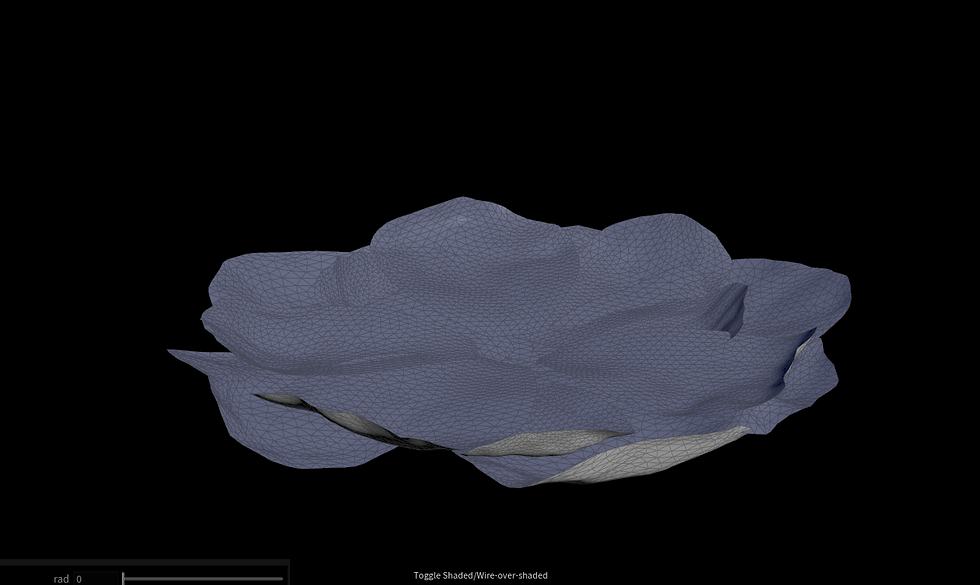
Mia was also able to update the rock formation in this shot to work with the animation
Updated the curve of the sparkle trail to be more visually appealing with the shot
Before:

After:

Made the trail a bit longer then previous iterations and added some noise to the end of the trail by controlling the wind amplitude based on particle age.
I also changed the timing of the shot by adding more frames
Before Update:
After Updates:
Added a smoke pass with pyro and a sparkle layer with more particles for more layers
Helped with lookdev by creating a quick texture in substance for the new rock formation as the old one had broken with the change in the set up

Rendered out multiple different passes for full control in comp of the effects. This included:
bunny particles layer
bunny eyes
bunny smoke
sparkle trail layer
fresnel and ambient occlusion layer
particle glow lighting pass
Render Layers:
Quick composite of the shots:
1A Progress
1A Still to do:
Refine based on feedback
Center moon better in beginning and smooth camera transition
Refine timing of the vines
Refine textures of the vines and the leaves - general lookdev work - make leaves thinner
Most recent 1A Render:
One of the biggest issues with the cocoon shot in 1A was it's sudden and odd positioning in the middle of a clear forest.
To help with making the cocoon feel more organic and to help in tying the other shots together, I used the simple tree tool to create vines around the cocoon as if it were in a patch.


To keep building off of this, I then went in and added some smaller vines on to the actual cocoon

I took this also as an opportunity to add some movement to this shot, having a couple of the smaller vines start to roll away from the cocoon to signal that something is about to come out of or hatch from the cocoon.
With the addition of the vines, I went back in and reapproached the leaves that lay under the cocoon as well.
I reworked the formation of the leaves before simulation
And with the addition of the vines, I needed to also add them as collision objects as everything will be pushed up together.
In the vellum simulation, I animated the collision objects along with the petal formation animation to avoid any overlapping as best as possible.

Though I used the vellum simulation to create the look of the leaves and get rid of overlapping, the best method for adding the motion to them for a subtle wind effect, ended up being an animated noise.
Here is all of the new moving aspects of the cocoon together:
I will be quickly doing some lookdev on the cocoon and it's new assets before rendering the new motion.
Lookdev will have to be revisited in the near future with this shot in particular
2C Progress
To do:
Render out new sparkles
Render out tree background pass
With the bunny sparkle trail more refined, I wanted to revisit the sparkles in 2C to tie them into the shot that follow.
I kept some of the sparkles from before but added two trails that come from her hands to really show that she created the bunny
I plan on rendering the sparkles in two passes with front and back so that the compositor can easily have the trails go behind her for more depth in the shot as well.
Since this shot follows right after 2B, it also needs the background render of the effect from 2B fading away.
1B Progress
To do:
Line up hand opening better and rerender
Upon going to work on 1B, I did a new test for the simulation, following this tutorial
After testing with this new vellum method, I went to position the geometry with the camera and the plates and found that the simulation would not even be seen due to the angle.
For this next round of renders, I will be testing using simple booleans and motions.
Depending on what can be done in comp, I will either find a way to overlap the tearing simulation in, or the shot will stay simpler.
Render Wrangling and Project Technical Directing
One of my main jobs right now is keeping the team organized, especially when we are all using the same master file and things are being passed back and forth. As mentioned in a previous post, I created a spreadsheet to keep the group on task when it comes to rendering.
Spreadsheet: https://docs.google.com/spreadsheets/d/1zwBptYkxCSVabUfE_sZhZhbfVNgjVyumWYC7csQa6Jk/edit?usp=sharing

In addition to organization, I also needed to go into the master file with the 'final' environment and lighting and make sure everything is correct to pass on to the rest of the team for rendering.
Looking in the file, I noticed a lot of issues with where cameras were and the position not being either physically accurate or not working with the story.
I went through every camera with a test dummy for scale and repositioned things.

I also went through every single shot and set up the USDs and the render settings node to have the correct frames and AOVs to ensure everyone will be on track when rendering.


